A Comprehensive Guide
Wall mounting a desktop PC—whether a full tower, mini PC, or all-in-one system—has become a popular way to reclaim desk space, enhance airflow, and create a sleek, modern setup. Based on recent articles and reviews, this approach is especially appealing for gamers, home offices, and small workspaces, but it comes with trade-offs like installation challenges. Below, I’ll summarize key insights from top sources, including pros, cons, recommendations, and tips.
Key Pros
- Space Savings: Mounting frees up 20–30% of your desk or floor area, making room for peripherals like multiple monitors or keyboards. 10 18 22
- Better Airflow and Cooling: Elevated positioning allows unrestricted air intake, reducing heat buildup—ideal for high-performance builds with GPUs or custom loops. 10 18 22
- Reduced Dust and Cleaner Setup: Keeps the PC off the floor, minimizing pet hair and debris accumulation; easier to clean with compressed air. 10 18 22
- Aesthetics and Cable Management: Turns your build into wall art (especially with RGB), while providing space for tidy routing via cord hiders or sleeves. 10 18 22
- Added Security and Noise Reduction: Less prone to spills or theft; mounting away from your desk quiets fan noise. 22
Key Cons
- Installation and Stability Issues: Drilling into walls requires tools, anchors (especially for concrete or studs), and load checks—full towers can weigh 40+ lbs, risking falls in shaky homes. 10 18
- Maintenance Hassles: Upgrades or repairs need ladders and disassembly, which can be awkward and time-consuming. 10 18
- Higher Costs and Limited Options: Premium cases or mounts start at $100–$300+, with fewer compatible models for larger boards (e.g., no E-ATX support in some). 10 18
- Portability Loss: Not ideal if you move often or attend LAN parties—it’s a semi-permanent setup. 10
Top Recommendations
- For Full Builds: Thermaltake Core P3 – A tempered-glass open-frame case designed for wall mounting, supporting ATX boards, GPUs up to 420mm, and custom cooling. Around $150–$200; great for showcasing RGB setups. 10
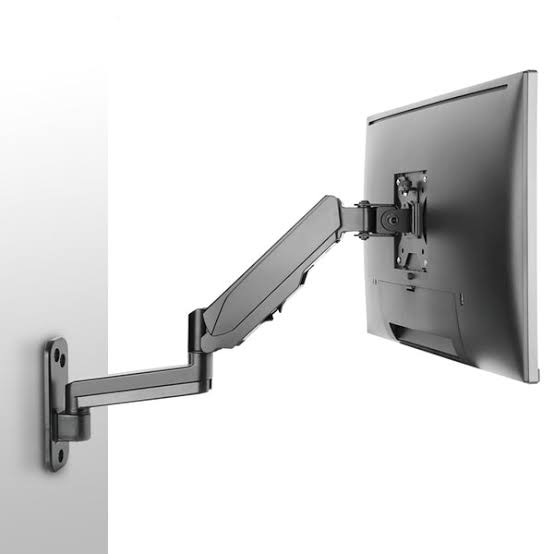
- For Mini PCs (e.g., Office Use): RackSolutions Dell OptiPlex Micro Wall Mount – VESA-compatible (75/100mm), tilts for easy access, and fits under desks or behind monitors. Ideal for Dell, HP EliteDesk, or Lenovo minis; $50–$100. 22
- Universal Options: Check compatibility lists for brands like HP ProDesk or Apple iMac via sites like RackSolutions, which offer adjustable brackets for SFF systems turned into “DIY all-in-ones.” 22 For gamers, prioritize cases with vertical GPU support to maximize airflow.
These picks are based on user reviews praising sturdiness and ease of use, though always verify your PC’s dimensions and VESA patterns.
Essential Tips
- Prep the Wall: Use stud finders and heavy-duty anchors (e.g., for drywall or concrete); test load capacity to avoid disasters. 18
- Cable Smarts: Add a long USB-C hub and 3.5mm extensions for ports/headphones; route cables behind walls or with hiders like Delamu kits. 10 18
- Placement Matters: Mount 4–6 feet high, away from ceilings for heat escape, and near outlets to minimize extensions. 10 22
- Maintenance Routine: Dust monthly with compressed air (e.g., Innovera cans); open-frame designs need extra care to prevent component exposure. 10 18
- Start Small: If unsure, try under-desk mounts first before full wall commits.
For more Reddit user stories (e.g., on r/buildapc or r/pcmasterrace), search for “PC wall mount experiences” – many report loving the look but warn about stud mounting. 14 17 If you’re eyeing monitors too, pair with VESA wall arms like the Fully Jarvis for a complete setup. 12